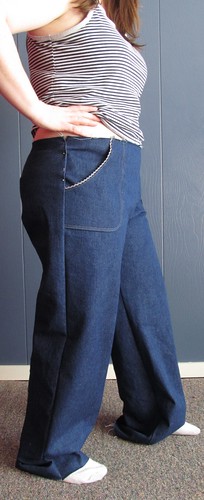
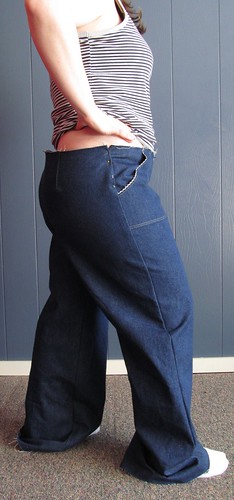
I'm working on a Top-Secret Project, and while I can't share the details of it with you right now, I did want to share something that I've learned while working on it!
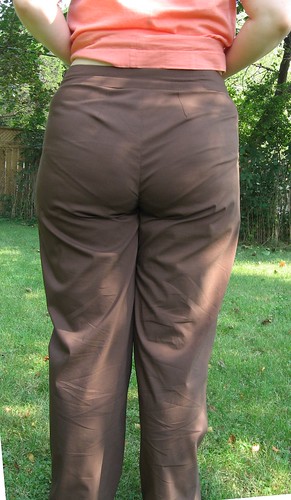
The pattern I'm working with is plus size (20W to 28W). Unfortunately, this is just a too big for exactly half of me, and my upper body would be swimming in the bodice if I sewed the smallest size. I guess only my butt is plus sized? Anyways, I'm grading the entire pattern down from a size 20W (the smallest in the set) to a size 18W. I thought I'd share with you how I accomplished this. While only piece of the pattern is demonstrated here, the technique shown can be used on all pattern pieces.
I've used a plastic grocery bag and a permanent marker to trace my patterns. Works like a charm and uses up plastic bags to boot! (Speaking of making do, tomato soup, tinned mushrooms, and tuna cans all make great pattern weights too.)

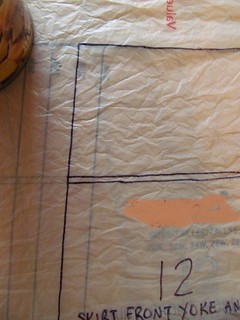
The first thing that I do is lay out the plastic and weigh it down so it doesn't move. Then I traced out size 20W completely, including all notches and shortening lines.

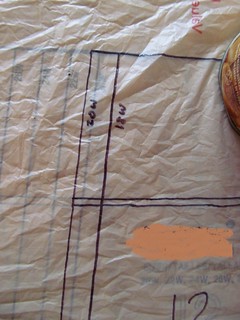
Since the size increments in this pattern are uniform from size to size, it's fairly easy to grade down a size or two. Once size 20W was traced, I shifted the pattern so that one side lined up with size 22W. Including grain line arrows and shortening/lengthening lines makes it easier to keep the pattern lined up properly.

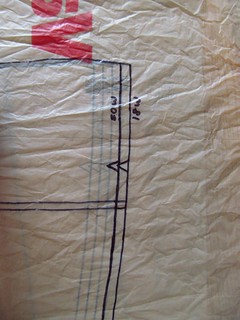
I then retraced the size 20W line. This shifts the left side of the pattern piece down one size increment, to what I'm going to infer would be size 18W. (Please ignore that neither line is aligned with the pattern sheet below. My tracing had shifted by the time I took photos.)

Since we're going down one size, we can't just re-trace the size 20W line all the way around, or else we'll just wind up with another size 20W, shifted over a tiny bit from the original. Instead, lets look on the right side of the pattern piece. See how I've shifted the original size 20W edge to line up with size 22W?
NOTE: Normally if you're grading down to a smaller size, the new, smaller-sized outline will be inside the original larger sized outline (or vise versa if you're grading up). However, in the case of this pattern piece, the smaller size outline is actually on the outside on the left side of the piece. I probably should have used a more conventional piece to demonstrate with, but this just shows how much you have to pay attention while tracing and grading your pattern. Watch out for this!

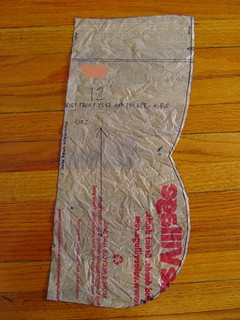
Once again, I simply just traced along the size 20W line, creating a size 18W outline. Make sure you're marking your lines as you go so that you don't get confused when it's time to cut out the pattern piece.

I went around the entire pattern piece, shifting the traced size 20W edge over to size 22W line and retracing the size 20W line to create a pattern piece at size 18W. (I'm hoping repetition makes this clearer.) In this case, I only had to trace the pattern on the left and right side for this piece, but some pieces required retracing on all sizes.
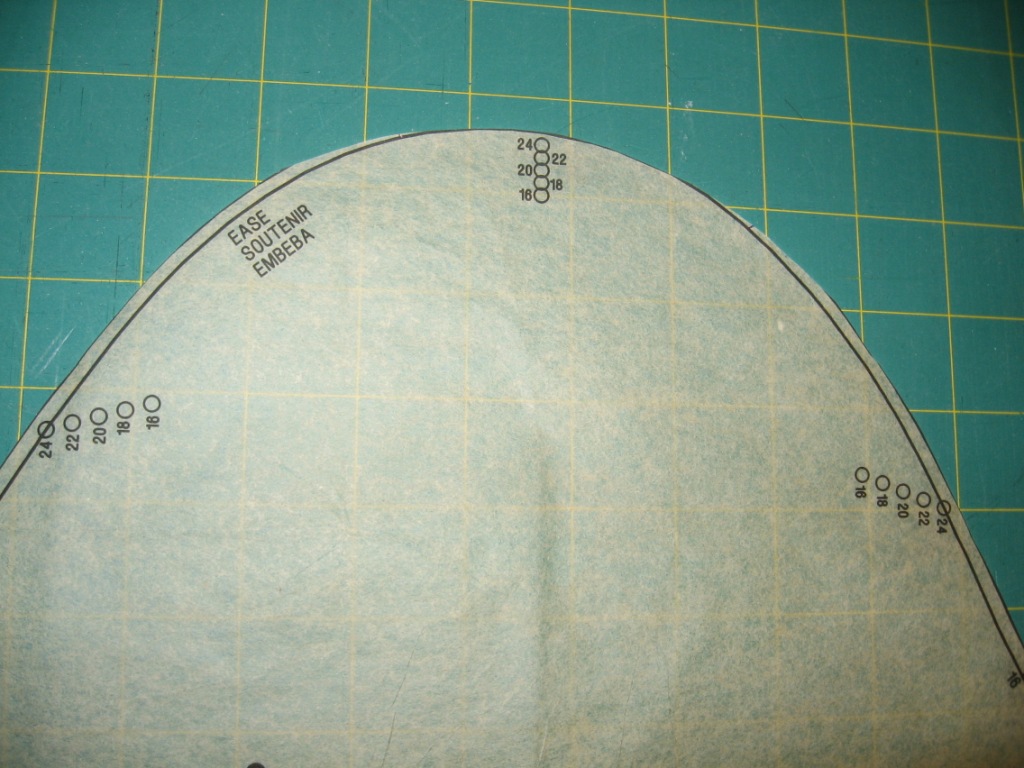
Make sure you transfer over all markings. I find that the markings line up relatively well, but watch out for tricky areas. Sleeves can be complicated because you're often shifting one area of a pattern in different directions, which can wreck havock on the notches and marks.

Once finished, carefully cut out your pattern pieces, paying attention to which line you're cutting. On the piece above, I nearly cut along the size 20W line on the right side, which would've left me with a too small of a piece!
This may seem time consuming, but so is running out to purchase a new pattern in a different size. Cheaper too, especially if you're recycling plastic bags for your tracing material!
What I'd really like to do is get a hold of this same pattern in the smaller size set, and see if my down-graded size 18 based on the plus-size pattern matches up with the size 18 based on the Misses' pattern. Not only would I really like to know how close I am to getting the size accurate through this method, but I suspect that there may be some drafting differences between regular sized and plus sized patterns.
The picture above is from the Simplicity website, showing the differences between different body types. They classify plus size patterns as "women" or "women/plus size", and they indicate in the text that the main difference between Misses' and Women's shapes is the proportions. Wouldn't this mean that the pattern proportions would be different too?
So this is why I keep referring to my new pattern size as 18W to distinguish it as coming from the Women's shaped pattern, as opposed to an 18 based on a Misses' shaped pattern. I'll try to get my hands on the smaller size set soon so we can see if there's a difference!
What do you think? Is there a difference in the pattern proportions between these two shapes?