Friday, September 9, 2011

Corduroy Jacket - Buttons!

I wish I could show you guys my progress on this jacket, but I'm using a different computer that won't let me do the simplest things, and I'm tired of wasting time trying to figure this out.

But I can upload and post (I hope) one picture, so I'm showing you the buttons I picked for this jacket. Don't they look like little crystal bowls? They're actually plastic, but you wouldn't know it. Seriously, these buttons make me happy, especially against this jacket, and that's the best part.

I can't wait to wear this jacket!

Tuesday, September 6, 2011

Corduroy Fall Jacket - Welt Pockets

After a bit of humming and hawing (and procrastinating), I decided to go ahead with making welt pockets on my corduroy fall jacket. This was mostly because I'd like functional pockets on my jackets, but also because I've been shying away from trying out new techniques, and I need to get over that.

I'm glad I did, because welt pockets aren't nearly as intimidating as I thought!

First off, I did a practice run with some scrap denim. I spent all afternoon yesterday trying to figure out what my sewing books were trying to tell me. I finally went with instructions in the Reader's Digest Complete Guide to Sewing, a book I picked up at Value Village one day and has proven to be invaluable so far. Look how my trial run turned out!

It's not perfect, and I didn't bother stitching down the sides of the welt, but overall I think it turned out pretty good.

I did learn two very valuable lessons that made doing the practice run well worth it.

#1: My lining fabric is a pain to work with! I sort of knew this going in though. Sewing the first box around the welt opening proved this; look at how the fabric warped.

And it sort of got worse from there. This fabric is so lightweight and difficult to stitch, especially by machine. I'm not sure how I'm going to handle putting together the lining of the jacket, but I suppose it'll be another learning experience. For the pocket, though, I decided to replace it with another fabric I had kicking around. More on that later.

#2: The other valuable lesson I learned with this practice run was about pocket dimensions. The RD-CGtS said to choose your pocket depth, then add 1.5 inches to one pocket and 0.5 inches to the other one.

Uh, yeah no that didn't work. I think this problem arose because my welt wound up 2x the size of the one in the book, but they didn't actually give you any starting dimensions. If I'd thought about it some more, I probably wouldn't figured this out on my own, but oh well. That's what muslins are for!

My starting dimensions included a 1 inch welt flap (plus seam allowance), and a 1 inch high (by 5 inch wide) welt opening.

The advantage of doing this trial run was I could play with placement on my jacket front. Since the original pattern only had you attaching a fake pocket flap, the marked placement wasn't right. Keeping the pocket depth in mind, I decided to lower the welt pocket 1 inch from the original flap markings.

I got a little focused while working on the first real pocket on my jacket, and forgot to take pictures. Here's the finished pocket!

Once again, not quite perfect; you can see that the left side pulls down a bit. I suspect that if I'd used a cotton instead of a ...shiny slippery poly-something-or-other fabric, it might not slide down so easily. Overall though, I'm super pleased. My first real welt pocket!

I was skeptical about making the pockets at first, and I wondered if I was wasting my time yesterday. Those doubts are gone, because these pockets will totally be worth the time!

Monday, September 5, 2011

Corduroy Fall Jacket - Alterations and Cutting

So in my last post, I told you all about the fabulous thrifty fabric I picked up for tops and trousers, and also about my plans to start perfecting a muslin of trousers. Then mentioned that I'd probably wind up making a jacket instead.

I was right.

Honestly, I tried to make myself start my first trouser muslin, but the suddenly cooler weather inspired me to work on a jacket that's been teasing me of late, and the poor (terrifying) trousers lost the battle. But it's fine because I really need a new fall jacket!

I'm working on Simplicity 3628 from the Threads Magazine collection. I decided on version B with the cuffs. However, I'm not making the horrid fake pocket flaps, because fake pocket flaps, and also because I technically didn't have enough fabric; something had to give and it wasn't going to be the sleeves.

Although now I'm considering making welt pockets. Heidi Ho's review over at PR influenced me, as she had welt pockets on her gorgeous jacket. Now I just need to practice making them.

I'm making it out of a 1.85 m length of navy blue fine wale corduroy, found at Value Village a couple months ago for ~$4. Sadly, it was a bit too short, but a creative layout meant I got nearly everything cut out, and there was no loss in the silly fake pocket flaps. The lining is this taupe-brown striped...thing that I found at Fabricland in the clearance area for ~$3/m. Was originally priced over $20/m, so I'm guessing it's a pretty decent material. It's soft and silky, so I'm also guessing it'll be a pain in the you know what to sew.

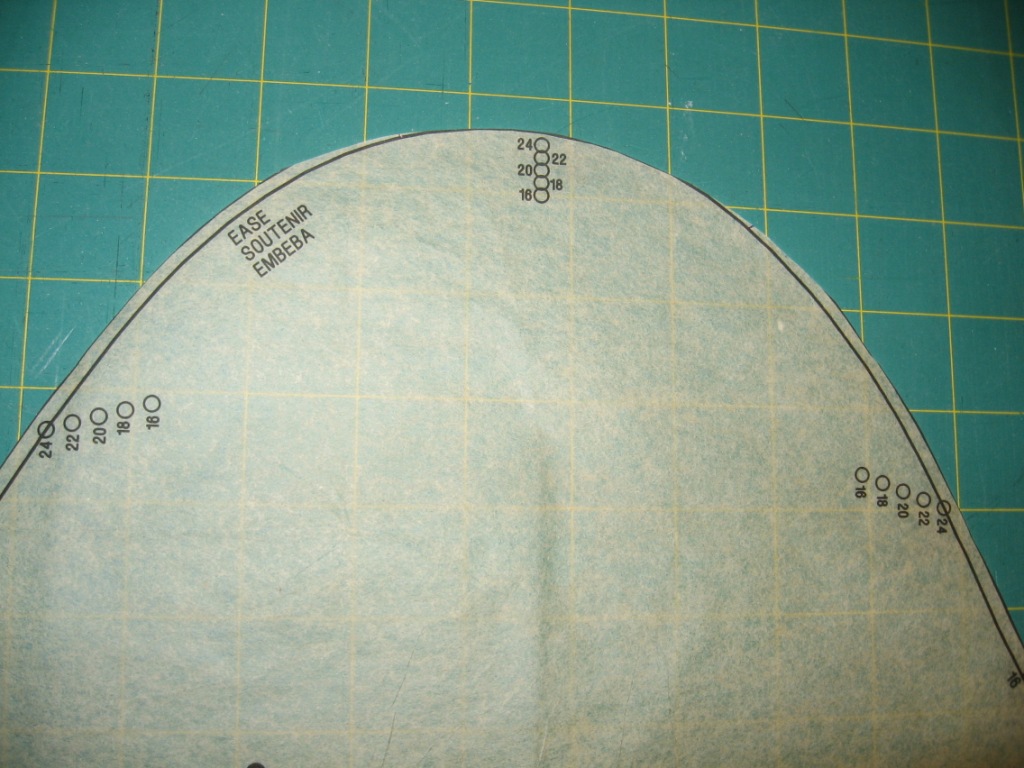
Theoretically I cut a size 16, but then graded to a size 18 below the waist, and cut size 18 sleeves. Then I had to add some width to the armhole to account for the added width on the sleeves, but since I cut the shoulder seams at size 16, I reduced the top of the sleeves to size 16. I probably could've just eased it into the armhole, but the corduroy is pretty stiff, so I figured I'd try reducing the bulk. Honestly, I should just say that I cut a size 18, because there's not much left of it at size 16.

Here's the body pieces, with my adjustments. I'm not sure if it was needed or not, but I chose to do the 1 inch Misses Petite adjustments that Simplicity included on the pattern pieces. Hope that doesn't bite me in the butt in the end.

Everything is now cut out and ready to be sewn up. But I've been uh...sipping on one too many amarettos, so I think I should leave the sewing for tomorrow. Things are getting pleasantly fuzzy, and I already forgot to reduce the length of the lining pieces by 1 inch already, so it's probably time for bed before I make a mistake I can't easily fix. ^__^

Good night, all you lovely sewists!

Saturday, September 3, 2011

Thrifted Fabric and a Gem

Okay, so first off, some advice. When you are sorting through a jar of buttons, and are scooping them back into the jar, either pay attention or keep your cup of tea very far away, or else you'll wind up with button-flavoured tea.

Mmm tasty.

In other news, I went thrifting the other day! I love scoping out the fabric and crafty area at thrift stores. My local Value Village has this great section devoted to fabric pieces, and I often luck out with multiple metres worth of some interesting fabrics. For example, I once found 2.5 m of a lovely stretch denim for $6 and 2+ m of a navy fine wale corduroy for $4! Sweet!

I was drawn to this blue knit right away. Don't ask me what it is beyond a knit, because I haven't a clue. I like the solid colour, and the drape is lovely. Plus you can't go wrong with a 1 m section for $1.99! While this was meant to be another version of New Look 6807, I'm really liking the cowl-like neck on Mabe here, so maybe I'll have to try my hand at adapting this pattern to incorporate this detail. Will definitely be stalking Tanit-Isis and Steph's (from 3 Hours Past) cowl neck alteration posts (although maybe not so extreme of a cowl).

I thought that this was just a 2.5 m length of plain white rib knit (for $3.99, woo!), but I obviously didn't look close enough while at the store, because it's actually a long tube of plain white rib knit. It's about 3/4 m wide when laid flat, and I'm awfully confused. Loooong tube dress maybe? Oh well, there's enough of it to make something, even if I'm not sure of it's original purpose.

For some reason, I really liked this olive green knit, despite not normally being a huge fan of the colour. Then I found the olive green leather-like poly-something-or-other, and immediately pictured a knit t-shirt with the leather-like details at the shoulder and neckline. Haven't worked it out exactly, but it'll be fun to play with a pattern to figure out a design! Plus each piece was $1.99, so yay!

Besides knits, I also lucked out in finding about 4 m of this unique striped shirting (top) and 2.5 m of grey corduroy. The shirting is destined to be a...shirt of some sort (yeah yeah, so unique) or maybe a dress (we'll see), while the corduroy will be a pair of trousers, whenever I overcome this trouser fear I've developed somewhere along the way.

Actually, I just picked up 7 m of suiting for 99 cents/m at Mitchell's today for the sole purpose of trying my hand at trousers. It gets too cold here in the winter to pull off dresses and skirts, and ~6 months of winter means I really need to get over this fear and make some bloody trousers already. So that's what I'll be doing. Just as soon as I pick up my copy of Pants for Real People from Mom's place.

So I see some tops and maybe some trousers in my immediate future. Which of course means my next project will probably be a jacket, because that's how I roll.

Oh, and look what I also found at the thrift store:


Friday, September 2, 2011

Finished Project: New Look 6807 - Knit Top

Last weekend, I declared a Selfish Sewing break to help get out of my sewing funk - which I entirely blame on the wedding gift aprons that I've completely lost interest in. I managed to complete 2 tops, and worked a bit on a UFO that's been in the works since June. Today, I want to show off one of those two tops, a knit t-shirt from New Look 6907.

I've made this top before, for the PR wardrobe contest last summer. I simply adored the shirt, and wore it constantly. I still do, but less so now because it's starting to get pitted, and I really should get around to mending the unraveling neckline one of these days. But I probably won't because tossing a cardigan on top hides all of the problem spots!

Anyways, I made this top from 1 m of poly-blend mystery knit that I picked up from the end of bolt section at Fabricland for about $5. It was picked up for exactly this pattern (about a year ago), so go me for sticking to a plan!

As with the older version, I cut a size 12 (I normally use size 16 - this pattern runs large) and eliminated the centre back seam. It's a knit, why would you need ties at the back unless you actually like the design element? Which I don't, thus no centre back seam and ties.

Of course, this meant changing the neckline binding piece. Last time, I cut it pretty long, not accounting for stretch. (Also last time I cut out the wrong pattern piece, hense why the binding is much thinner on the old version. Whoops.) This lead to a much wider neckline overall. While it's very flattering, it's so wide that sometimes my bra strap shows, and I have to be careful when I lean over. This time, I cut a length of fabric 29 inches long (the neckline itself measured somewhere around 35 inches), sewed it into a loop, and stretched it to fit around the neckline. This has lead to a higher and snugger neckline that doesn't gape at all, as you can sort of see above. Next time, I'll probably add another inch or two to the binding, as I really had to stretch it to cover the entire neckline.

I really like the neckline. The height is perfect, and the gathering on the front and back is lovely. In the original pattern, you're supposed to leave a slit along the centre back seam, and the neck binding creates ties. There is gathering on the back, but on either side of the slit. I simply gathered all of the fabric between the two outer marks, making sure the final length was about what it should've been if the slit was there.

The other major change between the two versions is the sleeves. In the older version, I included the elastic ans casing indicated in version B. I suspect that I made the elastic too tight (a mistake I've made a couple times now - elastic is hard!), and found it a bit uncomfortable. In this latest version, I chose to simply make a 1/4 inch rolled hem and leave the sleeves fluttery. I really like the effect (and it's far more comfortable!), except that the rolled hem has a habit of flipping up. This is something I've encountered before, and I really should've learned my lesson by now. NOTE TO SELF: 1/2 TO 3/4 INCH HEM NEXT TIME.

Look at my shoddy stitch line. Sewing knits is also hard!

Also, after a year of fighting with it and often putting on the original version backwards, I opted to attach a small tube of self-fabric to the back on the inside to easily differentiate between the front and back. Someday I'll make my own tags, but for now, this works.

I don't really have a picture of it, but I finished all the inside seams by zigzagging next to the seam line. It makes me smile when I see seam finishing inside of my garments!

I love this pattern (with my alterations), and I really like this top. The only downside is my shoddy choice in material. I thought it was a decent knit, but this proves I still have a long way to go in fabric choices. It's obviously a poly-something, since it doesn't breath, doesn't wrinkle, and piles like a mofo after only 3 wearings. ARGH!

Oh well. I will definitely be making this pattern again (and again, and again). I think it will take well to some design changes too. I was thinking of how I could alter it to resemble this top made by Tanit-Isis, but then I realized that a band around the hips would be a really bad idea for me. Still, I have some ideas. More on that in my next post, where I'll be showing off some of my recent (thrift store) fabric finds, and the ideas they've inspired!

Anyways, big round of applause should go to Mabe, my lovely headless sewing assistant. This is her first time out of the box since I received her for Christmas, and I think she did a lovely job modeling, don't you? Even if she's a little smaller than me around the middle...darn her and her flat tummy!

Happy sewing all!

Related Posts Plugin for WordPress, Blogger...