Monday, September 9, 2013

Finished Project: Double Point Knitting Needle Case

It took a couple extra days, but I finally finished my double point knitting needle case!  (For those who don't know what those are, they're needles that have sharpened points on both sides of the needle, hense 'double point'.)

The pattern is from a tutorial by Crafty Avocado.  She walks you through the instructions clearly with lots of pictures.  I did make a few changes though (which I'll detail below), and if I were to make it again, I'd make a few more based on personal preference.  Great tutorial though!

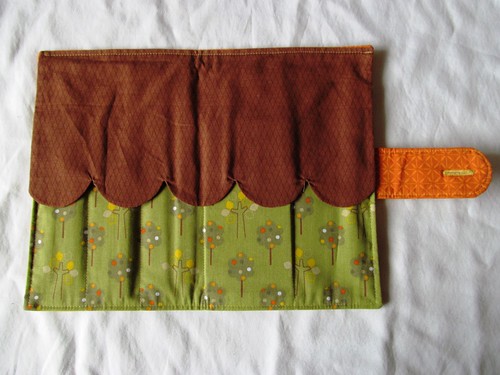
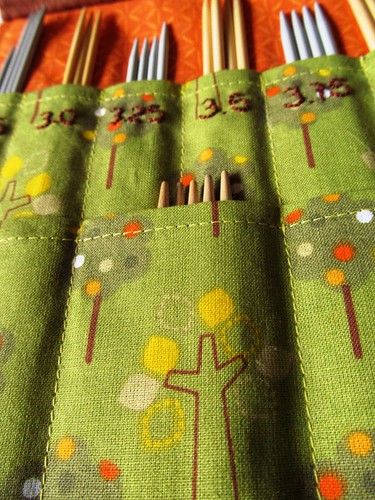
Case opened!  The tutorial just had you do the protective flap with a straight edge along the bottom, but I wanted scallops to emulate the little trees in the green fabric below!  I also rounded off the buttonhole tab for the same reason.


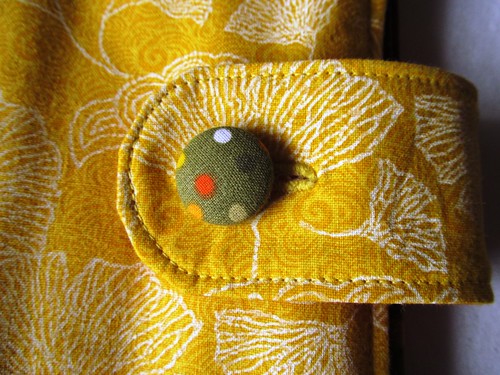
How do you like my self-covered button?  I managed to centre one of the trees exactly on the button *cough*on my second try*cough.
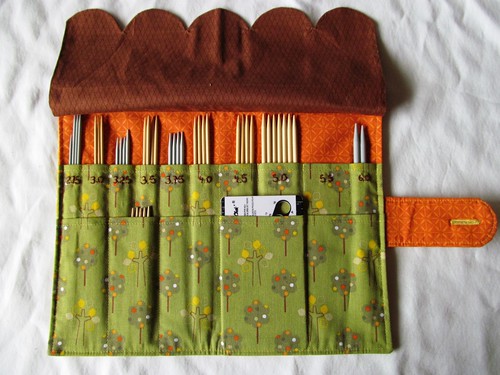
And here's the flap opened, revealing the needles underneath!  The flap keeps the needles slipping out of the case when it's closed up, something I neglected to do when I made Fuss that crochet hook case.  Oops.

Another change I made was the stitching order.  The tutorial had you stitch down all of the upper pocket seams first, then the lower pocket seams, matching up with the upper seams where needed.  Instead, I stitched all of the upper pocket seams that didn't line up with the lower pockets, then stitched both at once in one long seam so that they'd line up perfectly.  (I hope that makes sense - I'm a little confused trying to explain it.)  I did, however, backstitch at the top of the lower pocket for more strength before continuing on.

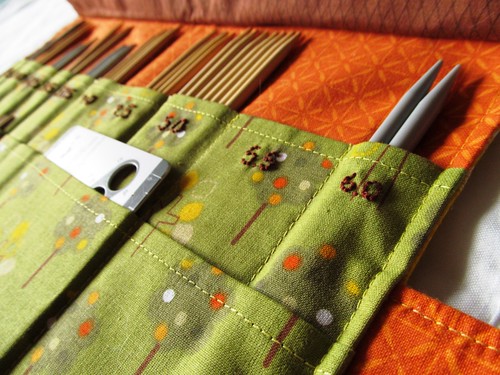
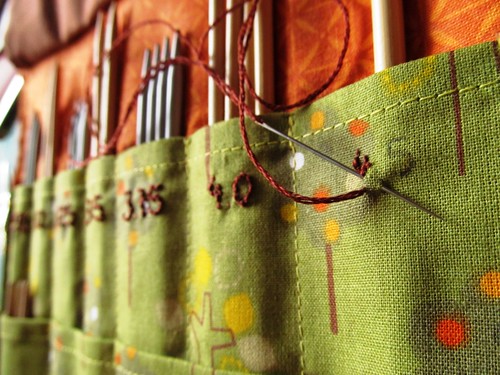
The hand embroidery was...tedius.  All I can say is that it seemed like a good idea at the time.  If you decided to do something similar, I recommend that you not do it stick a larger knitting needle in the pocket to prevent yourself from catching the lining with the sewing needle.  It also makes it easier to stitch with a bit of support behind the fabric.

Now I just need to order a set of 5.5 mm needles to fill that gap!  The needles I have here are all the ones I can get in town.  :(

Overall, I'm pretty pleased with this case.  It was handy to have at the knit night I organized for last night, especially when one of the women asked if I had any DPNs on hand and I could say YES!  I think that I'd make more smaller pockets next time though, and maybe a flapped or zippered pocket for adding a few stitch markers (I'm always desperate for them and it's getting annoying finding them in pants pockets, the bottom of my purse, in amongst spare change, under couch cushions...).


I'd originally planned to use the fabric I found in Alaska a few weeks ago, but when I went to find coordinating fabric, I fell in love with the green tree fabric.  And then I found the yellow fabric for the outside of the case.  The orange and brown just cemented it and I changed directions.  Oh well.  Maybe I'll use it when I make a case for my circular needles.  I might have to design that one myself...

Saturday, September 7, 2013

Finished Project: Tiramisu (Finally!)

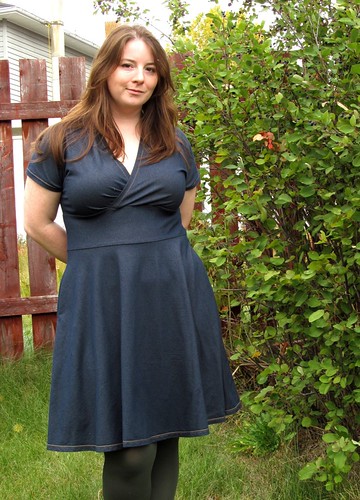
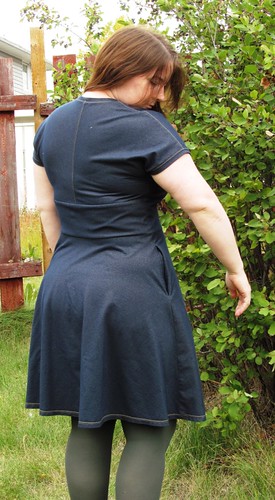
Posing next to one of our backyard saskatoon berry bushes.
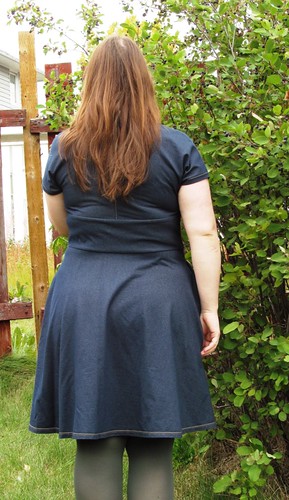
Please allow me to (finally) introduce the denim Tiramisu! 

Okay, not really denim, but a denim-like knit Tira.  Poor thing has been cut and partially sewn together since JanuaryWhy did I wait so long?!

For the people who don't know about this dress (I'm only assuming there's a few of you - although you must be living under a rock!), it's the Tiramisu dress, the first pattern launched by Cake Patterns.  Steph at Cake has put out a scad of them, and I've already made up her Pavlova and Hummingbird tops.

Saskatoons to the left of me, chokecherries to the right, here I am stuck in the middle with Tira.
Details
Pattern: Tiramisu Knit Dress #0144
Size: 35 back bodice, 40C front bodice, waist and hip cut to my size (can't remember what I cut, but my waist and hips measure at 36" and 45" repectively).
Fabric: A denim-like sturdy medium-weight knit bought at our Crappy Local Fabric Shop, a diamond in the rough and the reason I still wander through there now and again.  Sadly, I have no idea of the composition because our Crappy Local Fabric Shop doesn't bother to put fibre content on any of their bolts.
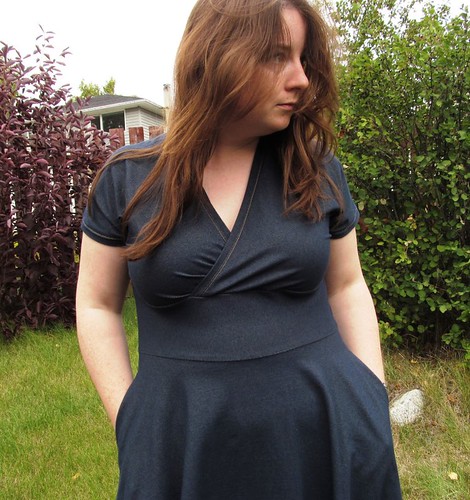
Alterations: Sigh. Because I cut this out so long ago, I don't entirely remember.  I do know that my first bodice attempt was way too small, so I recut with a larger size.  I also had this almost all sewn together when I picked this up again last month, so other than needing to resew the underbust seam to bring the bodice wraps a bit closer together, I don't remember any other alterations.  I do know that next time I make up this pattern, I'll probably try cutting out the front bodice in size 35D, since the shoulder seams pull toward the back and there's some extra fabric above my bust.  Well, I'll try a toile of it, anyways.  I'm pretty happy with the fit as it is anyways, so we'll see if it improves it at all.

I did make a mistake in the construction though.  I understitched the pockets in the back skirt piece, but I completely forgot to on the front skirt piece.  Who knew that there were 4 pocket pieces?!  This causes the pockets to gape and stick out a little bit on the front skirt, but it really doesn't bother me.

I'm pretty chuffed about all the gold topstitching I did.  Because it was denim-looking, I embraced the jean look by sticking topstitching wherever I could!  I did a lot on the bodice piece, at the centre back and shoulder seams, around the sleeve hems, at the faux-wrap edges, and a double stitch hem around the skirt.  I really wanted to add more, especially around the under-bust and waist seams, but I thought this might be too much, and also make me more self-conscious.  That second one strikes me as being stupid, but sometimes you need to let your insecurities win sometimes when it means feeling so comfortable in a dress that makes you look and feel good!

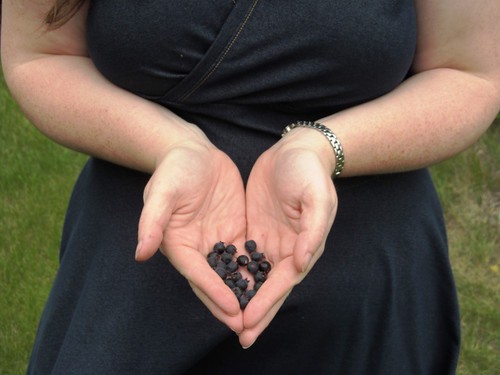
Need to harvest these berries this weekend! Winter is on it's way, here in Yukon.
There is some wrinkles, bumps and lumps in the back.  Some of it (like at the underarm) could probably be fitted out, and I suspect will be helped with a change in the front bodice size.  Others are just my natural bumps and lumps, and I'd rather not focus too much on those.  Silly back lumps.  :)

Mmm...saskatoon tiramisu anyone?
Seriously, this dress is probably the most comfortable and flattering dress I've ever made and worn.  While I love Cake Patterns, I don't find that I reach for my Pavlova or Hummingbirds that often.  But this dress?  I finished it just a couple weeks ago, and the only thing that's kept me from wearing it more often is that I'm a slacker when it comes to laundry.  It's comfortable enough for kicking around the house, casual enough for running around and meeting friends for coffee, and pretty enough to wear to a wedding!  (All of which I've done in the last few weeks.)

Now if you'll excuse me, I have some saskatoons to go pick.  Yes, in my Tiramisu!  Now where did I put that ladder...

Tuesday, September 3, 2013

Alaskan Treasures!

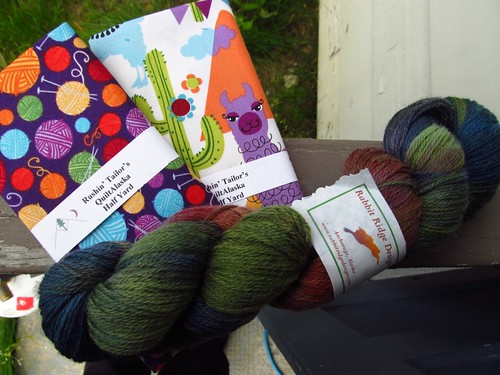
Look at my crafty finds from a recent trip to Skagway, Alaska! 

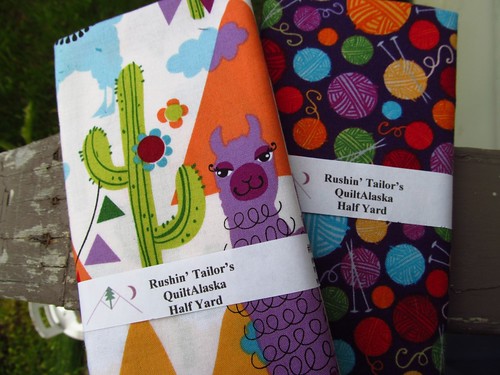
Love the cheeky alpacas on the one piece!  I'm planning to make a case for my double point knitting needles soon, and was tickled to find knitting themed fabric.  These two were my favourites, although it was a tough choice.

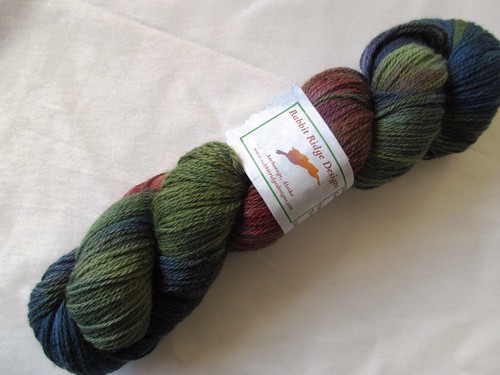
Also hard to choose was my yarn.  I wanted to bring home something special as a souvenir from my Skagway trip, and spent a lot of time wandering around Changing Threads, fondling all the pretty Alaskan yarns.  Finally settled on this sock-weight yarn with accompanying sock pattern.

Realized when I got home that it's extremely similar in colour to another yarn skein I picked up a while back.

Oops.
Related Posts Plugin for WordPress, Blogger...