Showing posts with label maintenance. Show all posts

Thursday, March 27, 2014

Introducing Genie Singer!

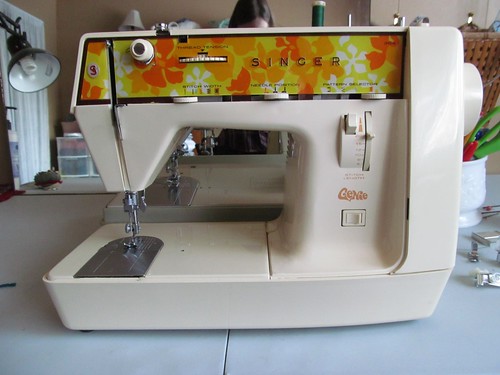
Singer 354 Genie
Hello again!  I'm back from camp and have a fun find to share with you all.  Isn't she a beauty!

I found her at a normally ridiculously overpriced consignment shop in town.  The place is packed to the gills with tonnes of overpriced (and often broken) furniture and all sorts of do-dads and treasures.  I literally tripped over one of three sewing machines tucked in the back, and after disregarding the other two, found this little girl!
Singer 354 Genie

And it not only worked (so far as I could test at the shop without any fabric and thread), but it was only priced at $45!  I had to get her to repeat it because I thought she must've for sure meant $145.  But nope.  I bought it on the spot and brought her home to clean up.
Singer 354 Genie
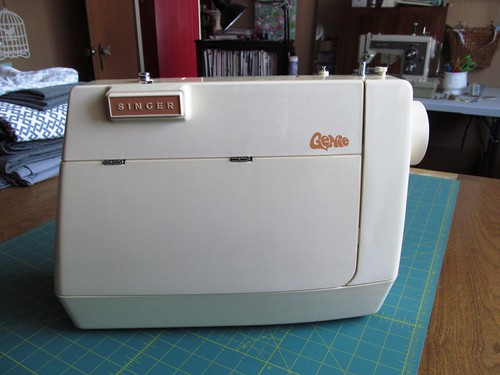
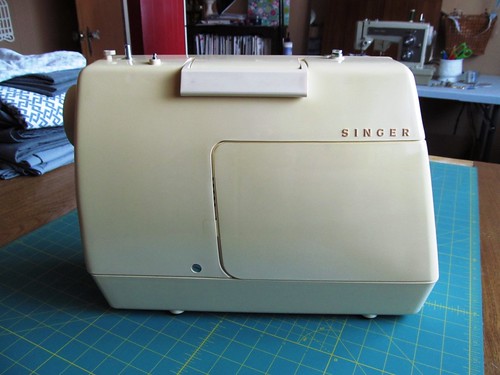
She's a Singer Genie Model 354, made around 1974 in France.  There's been some great write up's on her, in particular Sally Ann's review and even Peter of Male Pattern Boldness, who owned one before he started blogging (see his pic series here).


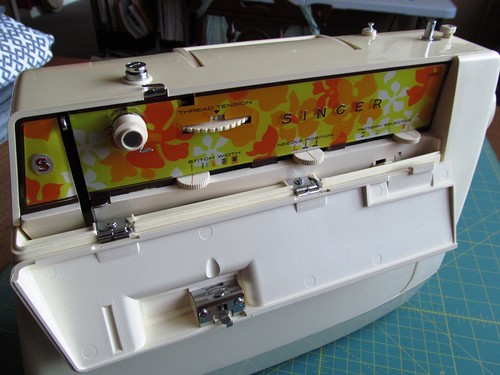
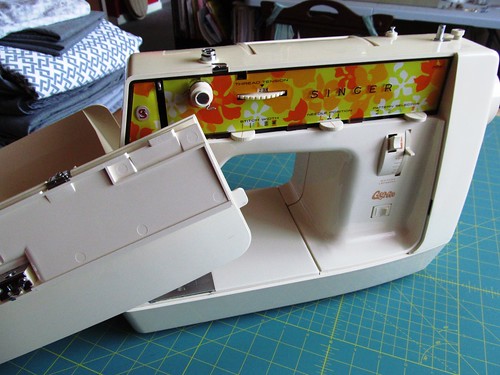
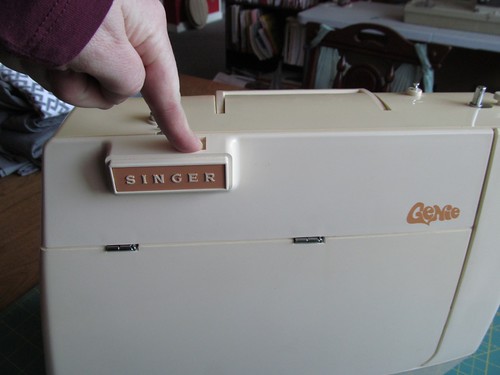
I'm not ashamed to admit it took me about 10 minutes to figure out how to open her:
Singer 354 Genie
Singer 354 Genie
Singer 354 Genie
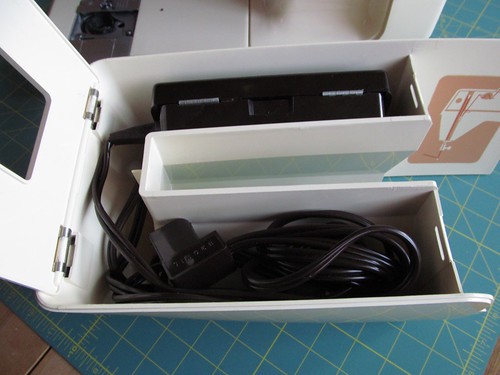
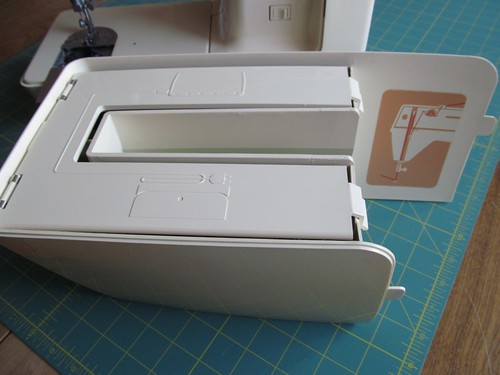
Sneaky!  And even sneakier is where the cable and pedal is hidden:
Singer 354 Genie
Singer 354 Genie
Apparently not a few people have gotten good deals on these because the seller thought the cable was missing!
Singer 354 Genie
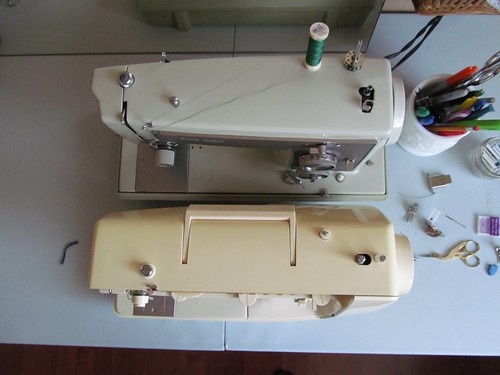
Despite first impressions, she's the same size as Maggie Kenmore!  I really thought she was smaller.  She's definitely lighter, being made of plastic instead of metal.  Definitely more transportable than Maggie.  BTW, I've named her Genie Singer.  I know, bask in my creativity.
Singer 354 Genie
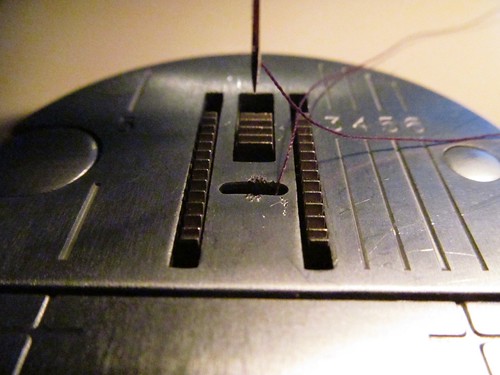
As you can see above, there's a bit of damage on the faceplate itself.  The needle seems to be moving into the slot fine, so I'm not sure how this happened.  I gave Genie a good cleaning and oiling.  She was actually in pretty good shape, a bit of fluff in the feed dogs and a bit of old grease.  Took me less than 10 minutes, and only that because I had to figure out how to remove the faceplate.  And then I realized it's been a really long time since I've cleaned and oiled poor neglected Maggie.  THAT took me nearly an hour, she was in a shameful state.  I apologized profusely to her, but considering that I then immediately put her away to play with Genie, I'm sure she'll never forgive me.  Poor thing.
Singer 354 Genie
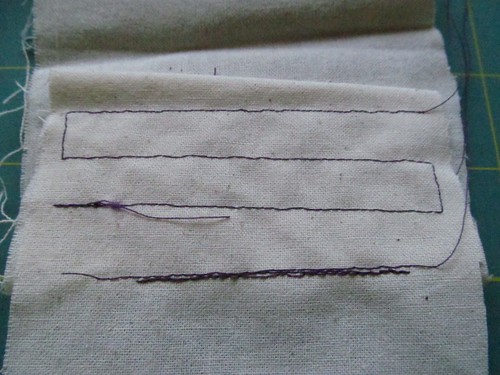
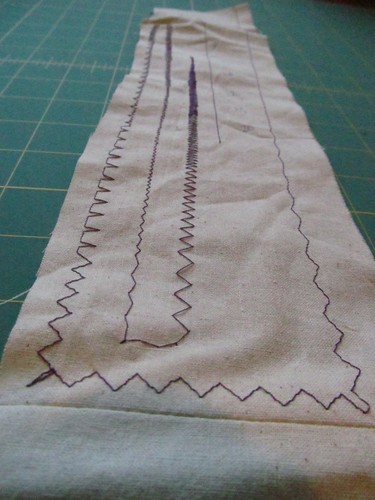
Off the hop, I'm having trouble with straight stitching with Genie.  The stitch lines are looking a little drunk, but I suspect that it's more of a tension issue than anything else.  But what I really wanted to try was all of her zigzag options.  Look at them all:


Singer 354 Genie

Maggie can only do the standard zigzag (and then do some fancy stitches that Genie can't do, so she's still a few up on Genie).  Genie can do the standard zigzag, a blindstitch, a funky heart monitor-like zigzag which is apparently better for sewing elastic, satin-stitch, and a multi-stitch zigzag - which I've coveted in other machines!  And boy do these stitches look gorgeous (although again, the multi-stitch zigzags look a big drunk because of my wonky straight stitch).

Singer 354 Genie

I'm pretty excited about them!

Singer 354 Genie
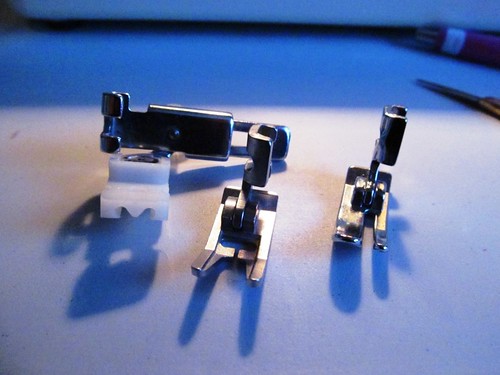
It didn't come with the originally included accessory bag, nor the manual.  Luckily you can either order a paper manual or download a free PDF version of it here at the Singer website.  I'm also really lucky because many of the feet I use most often on Maggie will fit on Genie.  I liked to pick up the lifter piece that allows the faceplate to be raised above the feeddogs for free-motion sewing (the feed dogs on it don't drop down), but honestly, I can do that on Maggie, and I'm happier with her straight stitching.
Singer 354 Genie
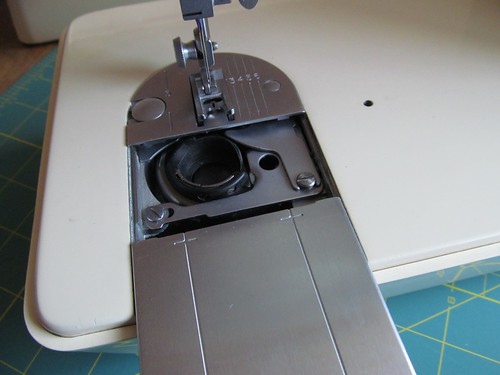
Genie does have a drop-in bobbin set-up and uses smaller plastic bobbins, but luckily I was able to find them at Wally-World, so that's less hassel than I thought it'd be.

Anywho, that was a looong blog post, but I'm pretty stoked about the new addition to my sewing room (if you couldn't tell).  I'm planning on spending the day sewing, so I'm going to get on that.  Two things though:

  1. I know my photos are bigger than usual.  Flickr has changed thing (again), and this is how they're showing up on here.  I might have to switch to a different photo hosting site, because I'm unhappy with the process right now, but we'll see.
  2. Does anyone have any suggestions for fixing Genie's straight stitches?  I'm going to play with tension and stitch length, but input from you smart folks would be appreciated!
Happy sewing all!

Wednesday, September 8, 2010

Cleaning and Oiling Maggie Kenmore: Part 1

I noticed while making the fabric belt that Maggie was chugging a bit while top stitching along the edges of the belt, and that she was struggling to get through some of the thicker sections. I've been meaning to clean and lube the poor dear for a while now, so I figured it was time. Especially since I didn't do it when I first brought her home, back in February.

(I couldn't resist adding my own note below the original purchase date when I picked her up. I know that I am the second owner for Maggie, and it's neat to see that she's been loved since 1973, when she was originally bought in either St. Johns, New Brunswick or St. John's, Newfoundland.)

Anywho, I had noticed the dust bunnies were starting to muster in for a revolt, so either way, it was time for a cleaning. And oh man, was it ever! Would you look at that fluff!

I'm almost too ashamed to be posting this, but I figure if I can ignore it so long that it gets to this point, others probably have as well, and this may encourage them to peak under the hatch and ferret out any dust armies gathering forces.

This is the shuttle race, which normally hosts the shuttle, shuttle race cover, and bobbin thinger. Also very fluffy. The whole thing practically fell apart when I pulled apart the levers, and I feared never putting it back together again, but it was easier than it looked.

Ew. Ewewewewew.

So once I got that all cleaned out using a soft (old) tooth brush and lots of paper towels, I moved onto oiling this section. Except, the instructions were a little vague. I didn't understand their little diagram telling me where to oil.

I wasted some time looking online, but nothing pinged. Poked all over PR, with no gold. Finally, I just went and poked around in the machine, putting the whole shuttle assembly back together to see what parts rubbed together, then put a bit of oil on them. I've pointed out the two spots marked above in the follow pictures, in case anyone else wants to see.

The shuttle (half moon shaped piece) slides against the surface the screw driver is touching, so put a drop of oil there, as high up as you can reach in the awkward little space. Maybe they call it the shuttle race because the shuttle races along it! Ooo the things you learn when you poke around and take things apart.

The bobbin holder thinger rubs agains the centre pin of the shuttle. I recommend adding oil after putting it back on the shuttle race, or else you'll get oil all over your fingers. You can guess how I learned that little tid bit!

The pictures above show the shuttle installed on the shuttle race. (Please disregard the little rusty spots. Poor dear is getting on in years; she's developed a few age spots and she's self conscious of them. Ssshhhhh.) Below shows the shuttle assembly put together with the shuttle race cover on and the levers clicked in holding it all together.

Now that's much better! Look how shiny and clean she looks! No more dust bunny armies down here.

Here it is all put together again (except for the needle plate, which I forgot to install before taking the picture).

The next part of the instructions in the manual involved oiling under the arm cover plate, but I've run into a bit of a snag.

See, I can't for the life of me, figure out how to get the arm cover plate off. It's on there tight, not budging at all, and the manual doesn't say boo about how to get the darn thing off.

(Isn't she pretty!)

I can see the seam for where it should pop off, but I don't know how to do it. There's no screws anywhere that I can see, and I'm afraid to start trying to twist off some of the thing-a-ma-jiggies on top of the machine.


Google failed me again, so I'd love to get some advice on this. Does anyone out there know how to remove the arm cover plate on a Kenmore 1410 zig zag sewing machine? Do I even need to oil under there? I did come across one "sewing machine expert" (granted in regards to a different machine entirely) who said that it shouldn't need to be oiled under there. But Maggie is about 37 years young, and anyone's joints could get stiff after a while.

So dear readers, do you have any advice for Maggie and I? I'm afraid I'm too late to get any assistance from Sears.

Related Posts Plugin for WordPress, Blogger...